Harley Davidson Grip Removal
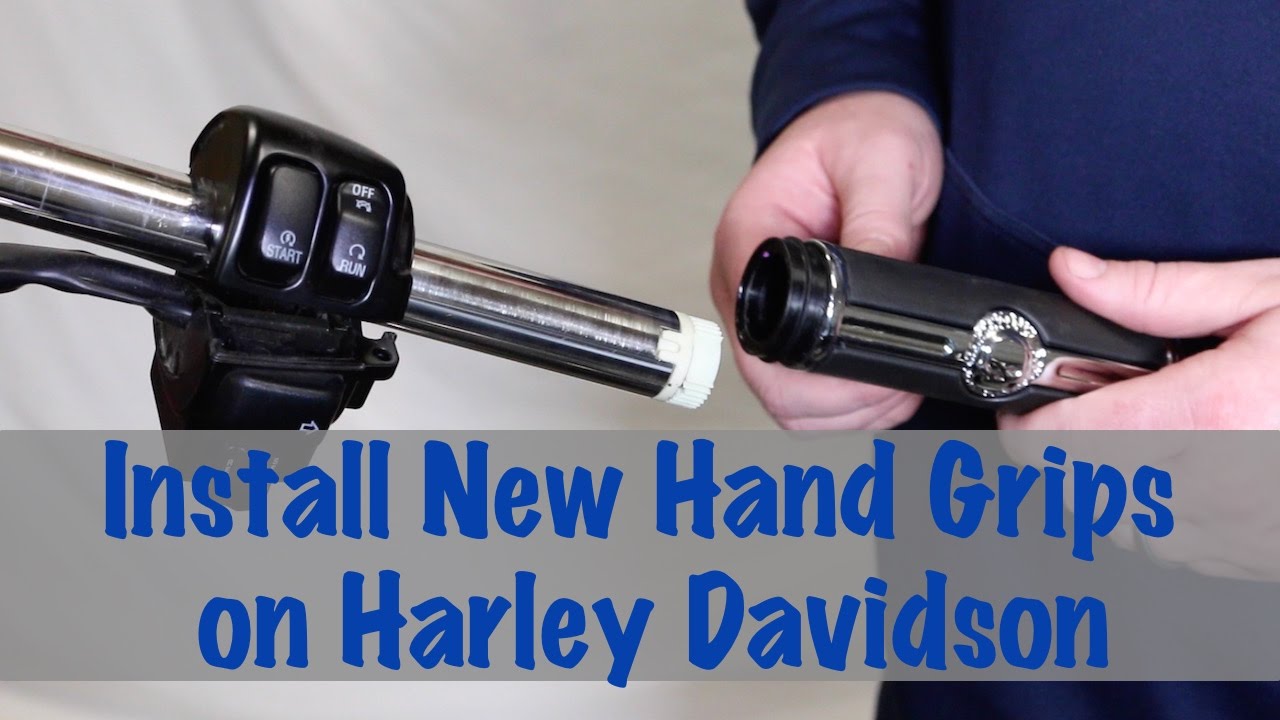
Install New Hand Grips On Harley Davidson Motorcycle Biker Podcast Youtube

How To Replace Grips On A Harley Davidson By J P Cycles Youtube

Harley Davidson Turn Signal Extension Caps Black In 2021 Harley Davidson New Harley Davidson Harley
How To Replace Harley Grips A Diy Guide Get Lowered Cycles
How To Install A Set Of Grips On A Harley Davidson Motorcycle Models 2008 Newer Youtube

Get A Grip Hand Grips 56100036 Harley Davidson Indonesia

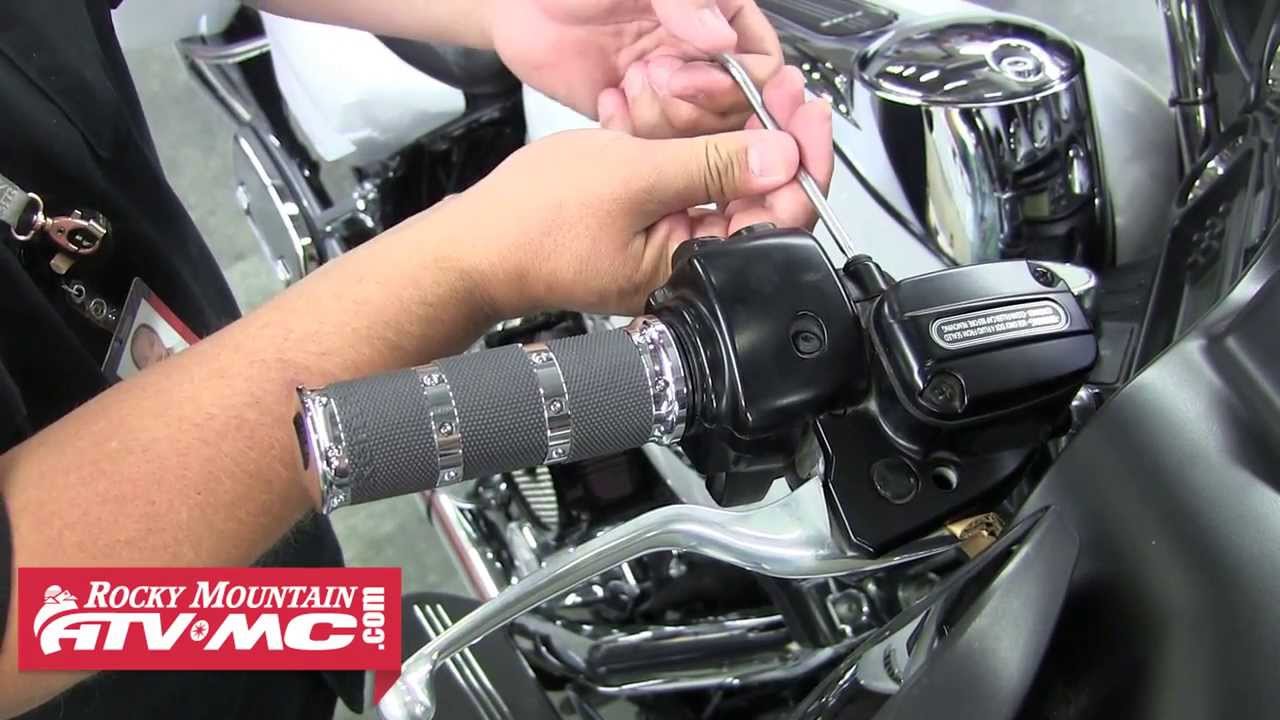
Loosen but do not remove the upper and lower switch housing screws 1.
Harley davidson grip removal. Remove the end cap from the existing left handlebar grip if equipped. Remove the grip by carefully cutting it away from the handlebar using a sharp blade or knife. Compressed air is your friend but sneaking a thin screw driver under the grip.
The carb cleaner should breakdown the old adhesive so you can twist off the old grip. To remove the grip a slight tug may be necessary to release the index pins in the grip from the receptacle in the seal cap. You can also use compressed air to try to break the adhesive bond.
How to Replace Grips on a Harley-Davidson by JP Cycles. Remove the end cap from the existing left handlebar grip if equipped. VIDEO-In this DIY video we show you how to easily install new basic handgrips on your Harley Davidson motorcycle.
In this video I show you how to replace grips on a Harley Davidson Sportster. To remove the old grip not caring whether you destroy it cut off the very end of it. Remove the clamp and position the clutch hand lever assembly away from the handlebar.
Carburetor cleaner between the grip and the handlebar. Remove the grip by carefully cutting it away from the handlebar using a sharp blade or knife. For example a 2019 Harley-Davidson Street 750 model in Vivid Black with sale price of 7599 10 down payment and amount financed of 683910 60 month repayment term and 399 APR results in monthly payments of 12592.
Remove the grip by carefully cutting it away from the handlebar using a sharp blade or knife. Once clean wipe the bars with some light oil to help the throttle rotate easier. Using sandpaper and an adhesive solvent clean the handlebar and remove any remaining adhesive or grip fragments.
Harley Davidson Breakout Fxsb Highball With 14 Ape Hangers With Heated Grips Breakout Harley Davidson Harley Davidson Motorcycles Harley Davidson Bikes

Melk Breakout 2016 Black Orange Edition Black Motorcycle Harley Bobber Harley Davidson

Grip N Click Tech Savy Hand Protection Harley Davidson Gloves Harley Davidson Harley Davidson Men

Heroes Motors Leather Grips Heroes Motorcycles Motos Geniales Motocicletas Personalizadas Motocicletas Cafe Racer

Motorcycle 1 Chrome Handle Bar Hand Grips Fit For Harley Kawasaki Suzuk Chrome Handles Handlebar Harley

Nostalgic Hand Grips 56275 08 Harley Davidson Indonesia

Wld Sport Harley Davidson Harley Davidson Motorcycles Harley Davidson Bikes

Thunderbike H D Street Bob For Custom Chrome S 50th Anniversary Custom Street Bob Harley Street Bob Street Bob

Pin On Cars Bikes

Private Site

Pin On Products

Vintage Harley Davidson Fatboy Softail 1997 Vintage Harley Davidson Harley Davidson Fatboy Vintage Harley

Chrome And Rubber Hand Grips 56246 96a Harley Davidson Indonesia

Harley Davidson Street Glide 2012 Harley Davidson Cvo Road Glide Harley Davidson Cvo Road Glide Custom Harley Davidson Street Glide

